My Photography Hide Project
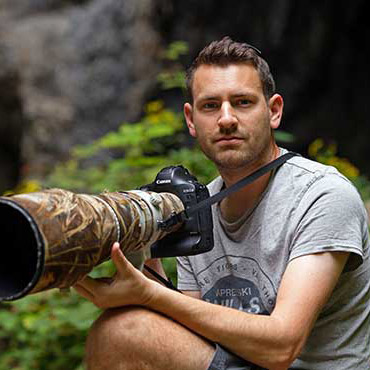
Team member and wildlife photographer Bret Charman has gone to a lot of effort to ensure he can continue to photograph during the Covid-19 lockdown.
As a wildlife photographer, hearing the news that my ability to move freely was no longer an option, I needed to be able to photograph the wildlife in my own garden - I decided there was only one thing for it, my very own photography hide.
When I started looking at a site for my hide, there weren’t really too many options. I wanted the be able to get as low as possible, but that isn’t particularly comfortable for long periods. Instead I settled on the idea of digging down in to the ground, allowing the photographer to sit upright, while getting the perfect low angle a photographer craves. I must say that there were no rare or at risk species calling the bank home (it was simply covered in grass and nettles).
My architectural background came in useful, allowing me to come up with numerous designs, before settling on one that was relatively straightforward, but would hopefully prove very effective.
First thing on the agenda was to excavate a hole (a metre deep and nearly two metres long). This all sounded so simple until I realised I was digging through solid chalk and hitting flints weighing up to 30kg. Two days later and the main hole was dug out, with over a tonne of rubble now in a spoil heap beside my excavations. The next challenge was securing the vertical corner posts in the ground - so out came the post hole digger and I excavated four holes another 30cm through the chalk.
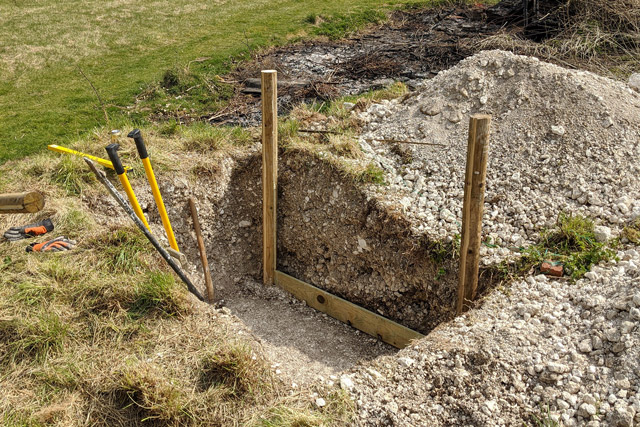
 With the really physical work now over with, it was time to use a router (think carpentry) and cut out the slots for which my wooden planks wood fit in to neatly. The idea was to use as few screws as possible on the walls. Eventually the wood was cut to size and routed, transported to the hide site and the corner posts went in. Once all the posts were level and aligned correctly, I secured them with some of the chalk spoil and started to insert the wooden planking to make the walls. Using some ‘persuaders’, otherwise known as a sledgehammer and a hammer, slowly the walls took shape. I was then able to fill the rest of the excavation with more spoil, slowly burying the sides of the hide, except for the entrance.
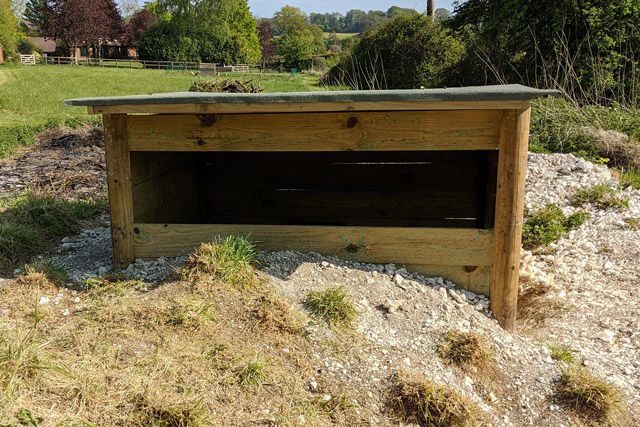 Now, my idea from the off was to have a green roof and bring the spoil all the way up to the roof line on two sides. However, under lockdown there is only so much I can do so I have currently constructed the roof under-layer, with a felt waterproof lining. When I have access to certain DIY stores, I will be able to finish off my ‘buried’ hide, covering the roof in a what I hope will become a miniature chalkland wild flower meadow
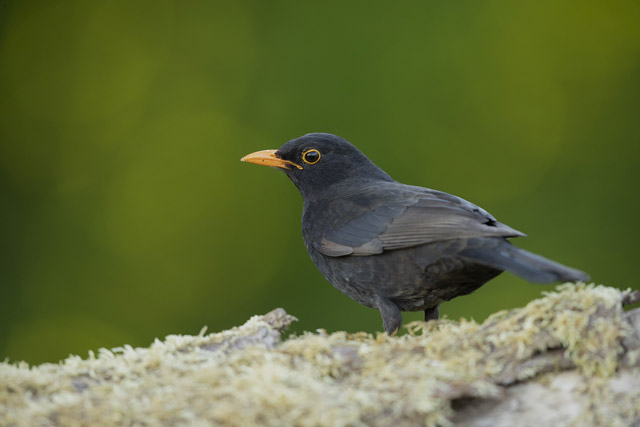
The hide is now functioning as intended and I am using it every other day, slowly allowing the birds to get used to the photographer hiding in what looks a little like a WWI observation point. So far the species I have seen from the hide include, robin, blackbird, blue tit, great tit, coal tit, chaffinch, dunnock, wood pigeon, magpie and mistle thrush. It is the robin which has provided the best photography subject so far, but I have big plans and hope to make adjustments over the coming weeks and months. My dream species is little owl and I have seen them in the area before, perhaps a nesting box is in order to get them on board.

So if you have the space and the time (more likely under lockdown), why not create your own bird photography station in your garden?